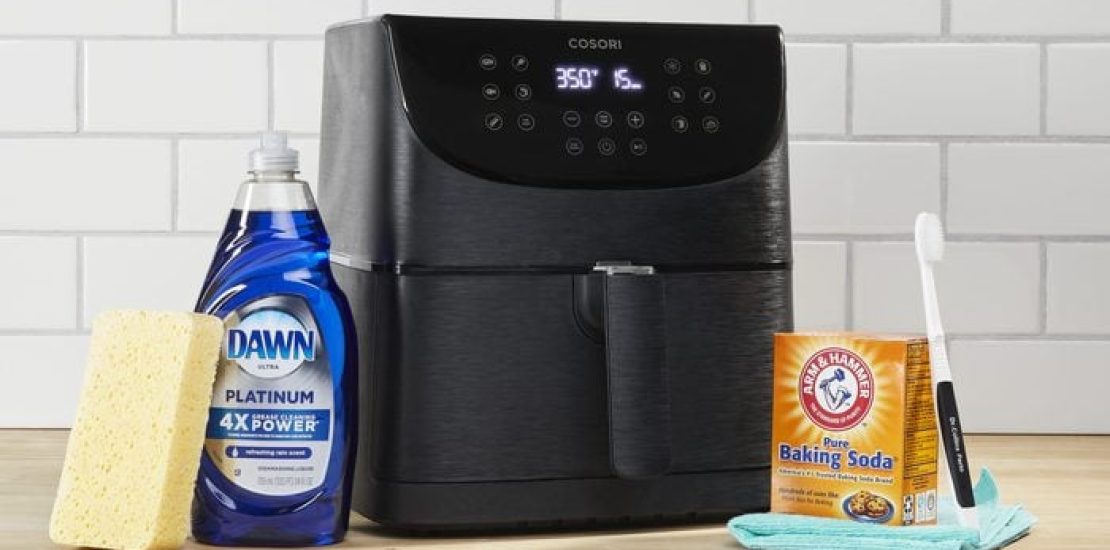
Cleaning an air fryer is important to maintain its efficiency and ensure your food remains delicious and safe. Here’s a step-by-step guide to cleaning your air fryer in seven easy steps:
Note: Always make sure your air fryer is unplugged and completely cooled down before cleaning.
Step 1: Unplug and Cool Down Ensure the air fryer is unplugged and has cooled down for at least 30 minutes before you start cleaning it. This prevents any risk of burns from the hot components.
Step 2: Remove Accessories Take out all removable parts, such as the cooking basket, drip tray, and any other accessories. These parts are usually dishwasher-safe, but it’s a good idea to check your air fryer’s manual for specific cleaning instructions.
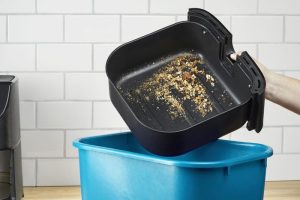
Step 3: Soak Removable Parts Fill your sink with warm soapy water. Submerge the removable parts in the water and let them soak for about 10-15 minutes. This will help loosen any food residue and make the cleaning process easier.
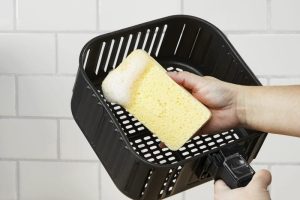
Step 4: Wipe Down Interior Using a damp, soft cloth or sponge, wipe down the interior of the air fryer to remove any loose food particles or oil. Be gentle to avoid damaging the non-stick coating.
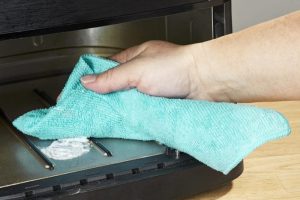
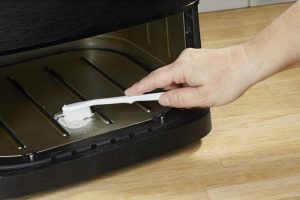
Step 5: Clean Heating Element Take extra care when cleaning the heating element. Use a soft brush or a cloth to gently wipe away any food particles or oil buildup. Do not use abrasive materials, as this could damage the heating element.
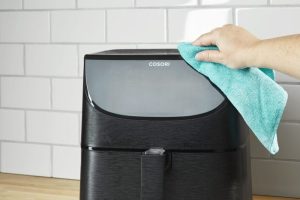
Step 6: Clean Exterior Wipe the exterior of the air fryer with a damp cloth to remove any grease or fingerprints. If there are stubborn spots, you can use a mild kitchen cleaner. Just make sure to avoid getting any cleaning agents on the heating element or controls.
Step 7: Clean Removable Parts Remove the parts from the soapy water and scrub them gently with a non-abrasive sponge or brush to remove any remaining food particles. Rinse thoroughly with clean water to ensure there’s no soap residue left behind.
Step 8: Dry and Reassemble Thoroughly dry all the components before reassembling the air fryer. Make sure everything is completely dry to prevent mold growth or electrical issues. Once dry, reassemble the air fryer by placing the cleaned accessories back in their respective slots.
Optional Step: Cleaning the Exterior with Vinegar If there are stubborn grease stains on the exterior, you can create a cleaning solution by mixing equal parts of water and white vinegar. Dampen a cloth with this mixture and gently wipe down the exterior. This can help break down stubborn grease and leave your air fryer looking clean.
Remember, it’s important to consult your air fryer’s manual for specific cleaning instructions and any recommendations from the manufacturer. Regular cleaning will not only keep your air fryer in good working condition but also ensure the flavors of your foods remain uncompromised.
Certainly, here are a few additional tips to help you maintain and clean your air fryer effectively:
1. Use Baking Soda for Stubborn Stains: If you’re dealing with stubborn stains or baked-on residue in your air fryer, you can create a paste using baking soda and water. Apply the paste to the affected areas, let it sit for a while, and then scrub gently with a non-abrasive sponge before rinsing.
2. Avoid Harsh Cleaners: Avoid using harsh chemical cleaners, abrasive pads, or metal utensils when cleaning your air fryer, as they can damage the non-stick coating and other sensitive components. Stick to mild soapy water, vinegar solutions, or specialized kitchen cleaning products.
3. Check for Dishwasher Compatibility: While many air fryer accessories are dishwasher-safe, it’s important to double-check your appliance’s manual to confirm. Some models may have parts that should only be hand-washed to maintain their longevity.
4. Regular Maintenance: Try to clean your air fryer after every few uses to prevent the buildup of food residue and oil. Regular maintenance makes the cleaning process easier and more effective.
5. Dealing with Odors: If your air fryer has developed odors from cooking various foods, you can eliminate them by placing a mixture of water and lemon juice in the basket and running the air fryer at a low temperature for a short time. This can help freshen up the interior.
6. Empty Drip Tray: If your air fryer has a drip tray that collects excess oil and drippings, make sure to empty and clean it regularly to prevent any overflow or unwanted odors.
7. Store Properly: When storing your air fryer, make sure it’s completely dry and free from any moisture. This prevents the growth of mold and keeps your appliance in good condition for longer.
8. Handle the Cord Carefully: When cleaning the exterior or moving your air fryer, be gentle with the power cord. Avoid pulling on the cord or yanking it, as this can lead to internal damage.
9. Regularly Replace Accessories: If you notice that the non-stick coating on your air fryer’s accessories is wearing off or damaged, it’s a good idea to replace them to prevent food from sticking and ensure safe cooking.
10. Deep Cleaning Routine: Once in a while, perform a more thorough deep cleaning of your air fryer by disassembling all removable parts and giving them a thorough scrub. This helps remove any hidden buildup and keeps your appliance running efficiently.
By following these tips and maintaining a regular cleaning routine, you’ll be able to enjoy delicious, healthy meals from your air fryer while keeping it in optimal condition.
